Categories

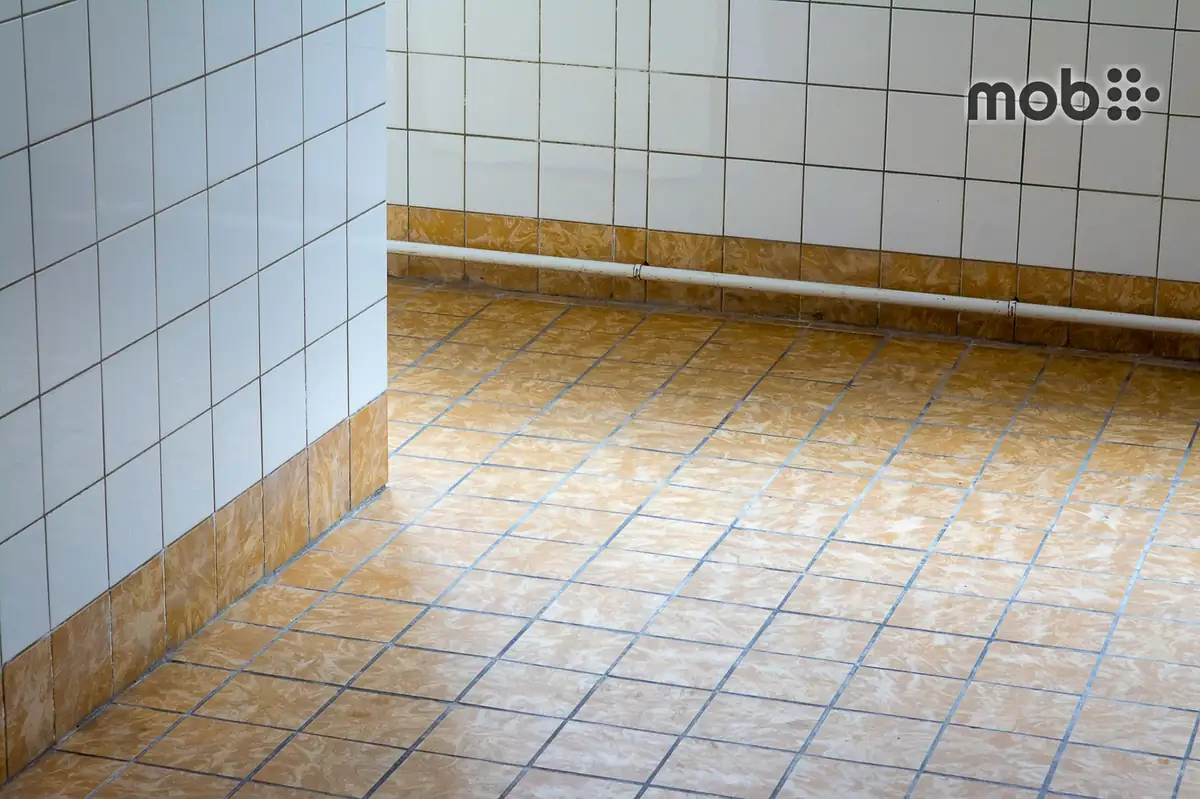
For any bathroom floor or shower enclosure, epoxy grout wins hands down. If you put standard cement grout into bathroom tile joints, expect them to turn dingy yellow by Diwali and greasy brown within six months. No amount of scrubbing will reverse it because the stain is not sitting on top of the joint; it is soaked deep inside the cement matrix.
Standard cementitious grout belongs in dry zones: your living room floor, bedroom tiling, or high dry walls where water never pools. The minute running water, shampoo residues, and mineral-heavy municipal or borewell water touch cement joints on a daily cycle, you are fighting basic chemistry.
Understanding why this happens comes down to porosity, acidic toilet cleaners, and the shortcut mixes tilers use when nobody is checking the bucket.
The sponge effect: why white cement joints turn brown so fast
Cement grout is essentially Portland cement mixed with fine quartz sand, pigments, and small amounts of water-retaining polymers. Even a premium polymer-modified cement grout absorbs water. When your bathroom floor stays wet after a morning shower, that water does not simply slide off the joints. It wicks straight in through capillary pores.
In a city like Bengaluru, municipal and borewell water carries dissolved calcium, magnesium, and iron salts. As the water evaporates out of the joint over the day, these minerals remain trapped inside. Add body oils, dissolved soap fats, dirt from footwear, and stagnant moisture, and you have created a breeding ground for black and brown mould spores.
Because cement is porous, those dark fungal hyphae do not merely grow on the surface. They anchor themselves deep within the microscopic voids of the joint. You can scrub the top millimetre with a nylon brush, but the root structure stays intact inside the grout bed, ready to bloom back into a greasy brown line a week later.
The acid cleaner trap that destroys cement joints
The fastest way to destroy white bathroom grout is using the blue liquid toilet cleaner sitting under your sink. Most domestic bathroom cleaners contain hydrochloric acid or strong sulphamic acid formulations. The bottle might promise spotless ceramic tiles, but acid reacts instantly with the calcium hydroxide in cement grout.
Every time acid cleaner touches a cement joint, you will see a faint fizzing sound. That fizz is the cement binder literally dissolving away. It strips the top paste layer, exposes rough sand particles, and turns a smooth grout line into a jagged, open trench.
Once that surface turns rough and pitted, it collects dirty mop water like a sponge. Within a few months of regular cleaning, the joint becomes rough to the touch, sheds sand when rubbed with a finger, and turns an unrecoverable brown or black. Epoxy grout, by contrast, is completely non-reactive to domestic cleaning acids, soaps, and bleach.
Where epoxy grout wins and where it can fail on site
Epoxy grout is not cement at all. It is a reactive resin system consisting of an epoxy resin (Part A), an amine hardener (Part B), and coloured quartz sand (Part C). When mixed in the exact proportions, they cure through an exothermic chemical reaction into a solid, vitrified plastic composite.
It has near-zero water absorption, usually less than 0.1 percent. Water, hair oils, hard water stains, and tea spills sit on the surface without penetrating. You wipe it clean with a damp cloth and mild neutral soap, and the white joint stays exactly as bright as the day it was cured.
Epoxy does have site limitations that tilers hate to admit:
- Sunlight sensitivity: Standard interior epoxy grouts yellow when exposed to direct ultraviolet rays. Do not use them on open balconies or sunlit terraces; use specialized polyurethane or exterior-rated grouts there.
- The haze nightmare: Epoxy resin has a strict pot life of roughly 40 to 60 minutes depending on ambient room temperature. If the mason leaves the excess grout smeared over a matte or anti-skid vitrified tile for too long, the resin cures onto the tile face. Removing that cured film later requires aggressive epoxy thinners or abrasive scouring that can ruin the tile finish.
- Skill requirements: Applying epoxy is physically demanding. It requires rubber floats held at a 45-degree angle, followed by immediate emulsification with clean warm water and a scotch-brite pad, finished with a cellulose sponge wipe. A helper accustomed to spreading loose cement paste with a rubber wiper will ruin an epoxy job within the first hour.
The site shortcut that looks identical on day one
The most common substitution on Indian residential sites is passing off neat white cement mixed with water, or white cement mixed with synthetic white adhesive glue, as 'tile joint filler'. A mason will tell you it saves money and looks just as white.
White cement mixed on site has no aggregate grading and no shrinkage control. When it cures, it shrinks aggressively, leaving hairline fissures along the tile edges that you cannot see without a magnifying glass. Water enters those fissures, penetrates behind the tile bed, and saturates the screed beneath.
Another deceptive practice is using single-component acrylic gap fillers or tube mastics meant for door frames and claiming they are epoxy. Acrylic caulks shrink, turn rubbery-yellow under water contact, and pull away from tile edges within weeks. If the packaging does not show two or three distinct containers meant to be blended together right before application, it is not epoxy.
Reading the standard on the bag before you buy
To make sure you are getting what you paid for, check the European EN 13888 or Indian IS 15477 performance codes stamped on the technical datasheet or bucket.
Cementitious grouts are marked as CG1 (standard) or CG2 (improved performance with low water absorption and high abrasion resistance). If you must use cement grout for dry bedroom floors, demand CG2 WA. The 'W' stands for reduced water absorption and 'A' stands for high abrasion resistance.
Epoxy grouts carry the classification RG, which stands for Reaction Resin Grout. Look for three-part factory-proportioned sets containing the resin pouch, the hardener bottle, and the silica sand pack. Never allow your applicator to guess ratios or split a kit without a digital weighing scale; an off-ratio mix will remain tacky and rubbery forever, turning into a dust magnet that turns black in weeks.
Cement Grout vs Epoxy Grout for Interior Tile Joints
| Option | Best for | Watch out | When to choose |
|---|---|---|---|
| Cement Grout (CG1 / CG2) | Living rooms, bedrooms, dry wall cladding, low-moisture floors | Porous to water, dissolves against acid cleaners, stains brown easily | Dry indoor floors with wide joints where installation cost must remain low |
| Epoxy Grout (RG) | Bathrooms, shower stalls, kitchen counters, wet utility balconies | Yellows under direct exterior sunlight; leaves stubborn haze if wiped late | Any surface exposed to running water, soap scum, grease, or heavy daily mopping |
Which one to buy
- Check your bathroom layout: pick epoxy for the entire floor, the shower enclosure walls, and at least two feet up around the washbasin counter.
- Verify the kit type: ensure the epoxy product is an RG-classified two-part or three-part reactive resin kit, not an acrylic tub paste.
- Inspect the tile finish: if using epoxy on unglazed or deeply textured anti-skid tiles, carry out a sample wash test to confirm the resin cleans off completely without staining the tile face.
- Enforce proper cleanup tools on site: keep two clean water buckets, a nylon scouring pad, and a high-density sponge ready before mixing starts.
- Allow full cure: keep foot traffic off epoxy joints for at least 24 hours, and keep water away for a minimum of 72 hours so the polymer cross-linking completes.
Compare current options and place orders onMadoverbuildings (MOB).
Don't substitute these
- Never let the tiler mix an entire 5 kg epoxy bucket at once on a hot afternoon; pot life will drop to twenty minutes and turn the mix into a hard stone before it reaches the joints.
- Warm water mixed with a dash of neutral dishwashing liquid cuts through the epoxy resin haze far better during the final sponge wipe than cold plain water.
- If your tile has an uneven bevelled edge, rake the joint depth clean down to at least two-thirds of the tile thickness before applying epoxy so it grips the tile flanks.
How This Plays Out on Madoverbuildings (MOB)
A site supervisor finishing four luxury master baths in Indiranagar found his tiler about to grout the shower floors with standard white cement powder from a leftover bag. He opened the Madoverbuildings (MOB) catalog, matched the required RG-grade epoxy kits to his tile colors, and placed the order to keep the project spec completely watertight.
Frequently Asked Questions
Can I apply epoxy grout directly over old dirty cement grout?
No, you cannot simply skim epoxy over existing cement joints. You must rake out the old cement grout to a minimum depth of 3 mm using an oscillating multi-tool or manual grout rake before filling with epoxy. Applying a thin coat over old dirt will cause the epoxy to debond and peel away within weeks.
Does white epoxy grout ever turn yellow over time?
Epoxy grout will not yellow from water, shampoo, or bathroom acids, but it will slowly yellow if exposed to direct, strong ultraviolet sunlight. In indoor bathrooms with normal artificial lighting or frosted window glass, quality white epoxy maintains its clean colour for years.
How long after tiling should you wait before grouting with epoxy?
Wait at least 24 to 48 hours after tile installation before grouting with epoxy. The moisture inside the underlying cement-based tile adhesive bed must fully escape, or trapped vapor can push against the impermeable epoxy joint and weaken its bond.
Why is labour cost higher for applying epoxy grout than cement grout?
Epoxy application requires mixing exact resin ratios, rapid joint filling before pot life expires, and continuous multi-stage washing with special sponges to prevent resin haze. It takes roughly three times longer to apply and clean compared to wiping loose cement grout across a floor.